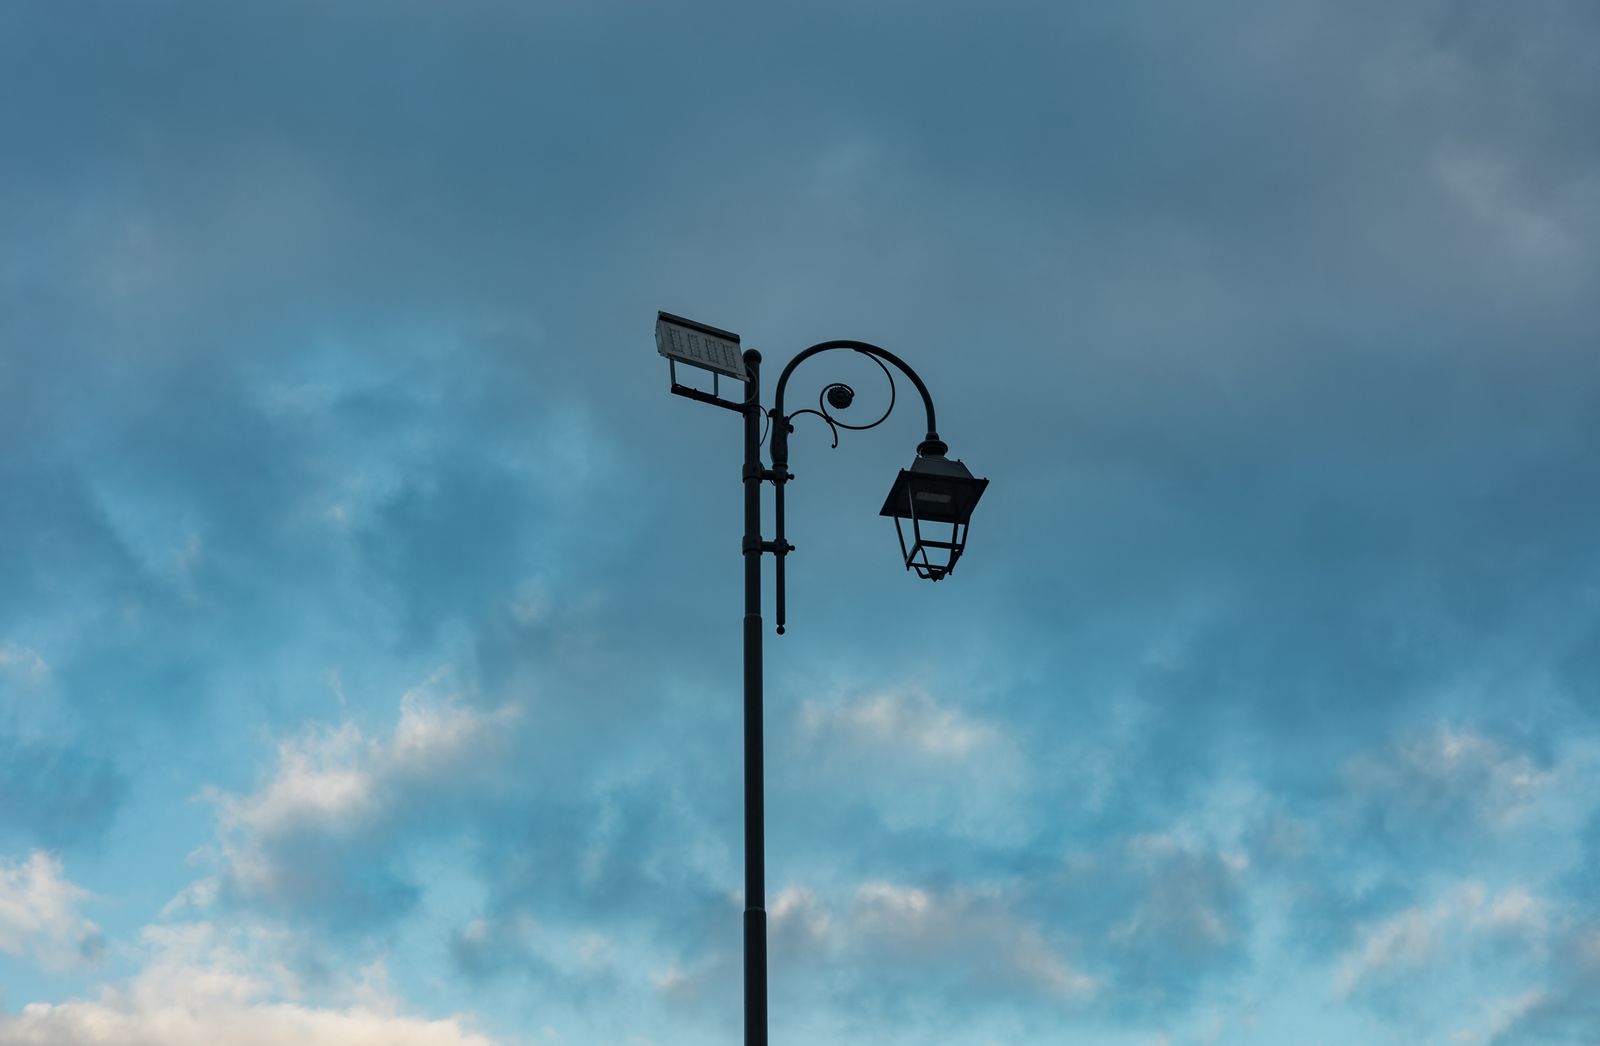
How Do Dusk-to-Dawn Solar Lanterns Work? The Complete Mechanism & Troubleshooting Guide
Imagine twilight creeping across your garden path as daylight softly recedes. Without pulling a switch or setting an electric timer, your solar lantern awakens into a warm, flickering amber glow.
Dusk-to-dawn solar lanterns operate using an integrated photocell sensor (or photoresistor) coupled with the top solar panel. During daylight, incoming solar radiation charges an internal battery while holding the circuit open. As natural light drops below approximately 10 to 20 lux at dusk, panel voltage declines, signaling the internal controller circuit to automatically switch stored power from the rechargeable battery to the energy-efficient LED driver.
Evaluating Dusk-to-Dawn vs. Manual Solar Accent Lighting
Automatic dusk-to-dawn solar lanterns are ideal for effortless, romantic daily ambiance, whereas motion-sensor solar lights serve high-traffic security zones.
Best choice for
- Integrated Dusk-to-Dawn Photocell Solar Lanterns — Turns on automatically at twilight without manual switch flipping, providing 10–12 hours of soft flickering light.
- Motion-Sensor Solar Floodlights — Preserves battery by staying dark until movement triggers bright lighting bursts rather than continuous ambient glow.
- Your desired installation spot sits directly underneath a 100W porch light or streetlight that stays lit all night.
- The lantern will hang in complete, year-round deep shade without direct daylight exposure.
- Timer-Based Low-Voltage Plug-In Accent Lights — Best if outdoor living spaces completely lack sunlight access but require exact scheduled evening activation.
Expert Secret: The 10-Second Black Tape Sensor Test
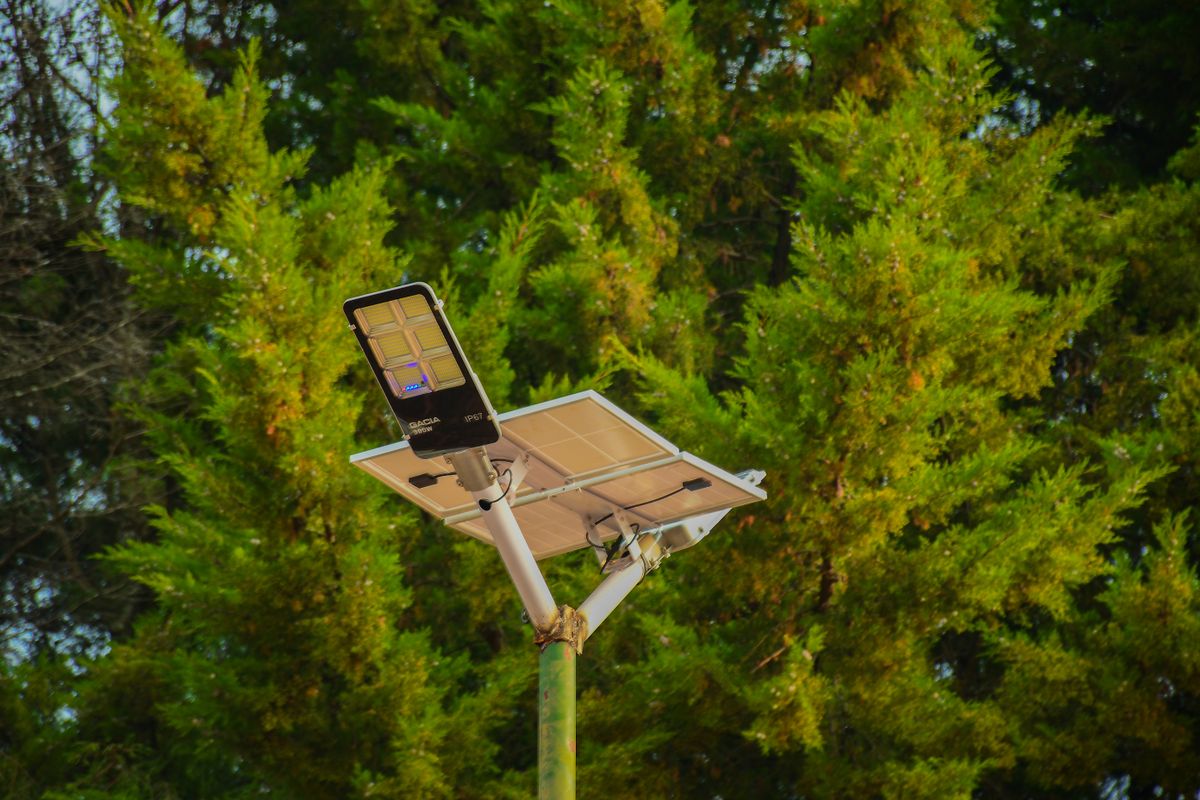
Photo by finix photographer on Pexels
If you want to test whether your solar lantern's dusk-to-dawn sensor is operating properly before mounting it high in a garden tree, perform this quick 10-second daylight test:
If the light glows bright, your controller board and battery connection are perfectly healthy.
Side-by-Side Diagnostic: Why Dusk-to-Dawn Sensors Misbehave
| Scenario / Symptom | Underlying Sensor Cause | Daytime / Nighttime Remedy |
| --- | --- | --- |
| Lantern turns on during bright daylight hours | Solar panel is shaded by deep roof eaves, or master switch was toggled while panel was covered. | Relocate lantern to open sky sunlight; ensure panel face receives direct daylight exposure to maintain sensor voltage cutoff. |
| Lantern flickers rapidly or shuts off shortly after nightfall | Ambient artificial light from porch sconces, floodlights, or streetlamps strikes the photocell sensor. | Reposition lantern 10 to 15 feet away from artificial glare, or angle solar top away from high-lumen outdoor fixtures. |
| Lantern glows for only 2 to 3 hours after dusk | Insufficient daylight intake during the day, or dusty film coating top solar panel surface. | Wipe solar glass clean with a damp microfiber cloth; prune overhanging branches to secure 8–10 hours of unshaded daylight. |
| Lantern remains completely dark all night despite full daytime sun | Master power switch left in 'OFF' position, or battery completely discharged past operational voltage. | Toggle master switch to 'ON' under lid; leave in direct sun for 2 full days to deeply recharge internal Ni-MH battery. |
When your automated garden lantern fails to illuminate or flickers erratically, the issue is almost always tied to light sensor threshold interference or battery charge levels.
Anatomy of Twilight: Inside the Automated Solar Circuit
To understand how a solar lantern senses the coming of night without a mechanical clock, look at the internal components working in harmony beneath the weather-sealed casing.
Handcrafted Automated Glow: The Solar Water Drop Lantern
Bring storybook magic into your garden without touching a switch. Our teardrop-shaped solar lantern pairs precision dusk-to-dawn automation with intricate metal shadow casting.
Essential Rules of Dusk-to-Dawn Solar Automation
Keep these primary takeaways in mind when planning your garden's outdoor lighting scheme:
The Golden Hour Placement & Setup Checklist

Photo by Jorge Luis Acasiete Conza on Pexels
- Unpack lantern and carefully peel away any protective clear film covering the top solar panel.
- Locate the master power switch on the underside of the solar cap and toggle it to 'ON'.
- Perform the 10-second palm test (cover top panel) to verify LED ignites properly.
- Select a garden branch, tabletop, or pathway hook receiving 8–10 hours of unshaded direct daylight.
- Verify the location is at least 10–15 feet away from bright porch sconces or streetlamps to prevent sensor disruption.
Real-World Scenarios: 4 Common Dusk-to-Dawn Placement Blunders
Even the most advanced photo-sensing circuit can be confused by common garden layout oversights. Here are four real-world scenarios homeowners frequently encounter:
Frequently Asked Questions About Solar Dusk-to-Dawn Mechanics
Clear answers to technical and practical questions regarding light sensors, winter runtime, and automated performance.
Your Next Steps for Enchanted Evening Illumination
Your decision: Determine whether your garden setup has clear access to daylight while remaining dark enough at night to prevent ambient sensor interference.
Do this next: Perform the 10-second tape test on your solar panel today, then inspect your garden pathways after twilight to identify artificial light bleed.
- Read next: Selecting the Perfect Automated Dusk-to-Dawn Solar Lanterns for Your Enchanted Garden
- Read next: When Twilight Falters: Troubleshooting Dusk-to-Dawn Sensors on Solar Garden Lanterns
Bring fairy-tale magic to your yard with the IP65 Waterproof Solar Water Drop Lantern, engineered with automated dusk-to-dawn sensors.
Transform your outdoor living space into a warm, magical sanctuary with effortless solar automation.
Continue Exploring Eco-Friendly Garden Magic
Offer clear next reading links for garden design and troubleshooting.
Cover photo by Angelo Capitanio on Pexels.