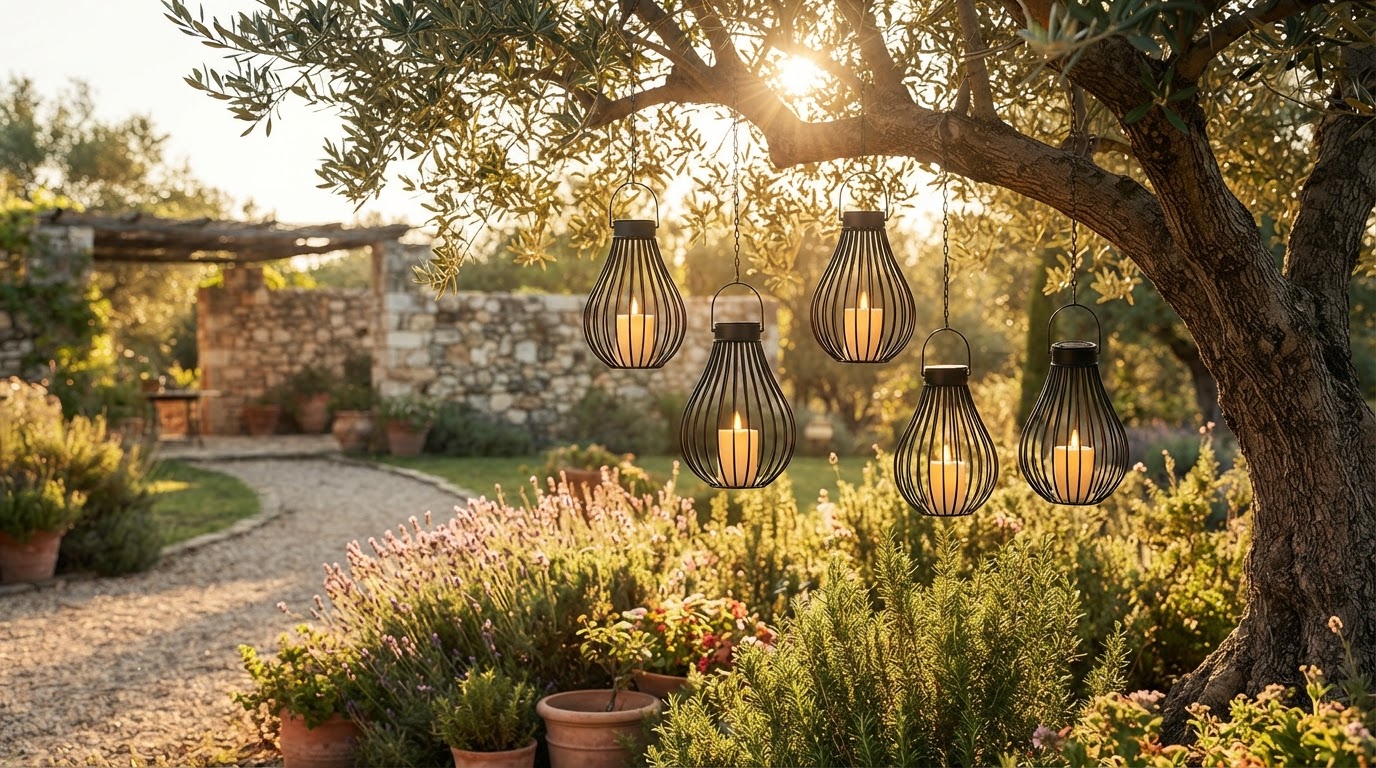
How to Position Outdoor Solar Lanterns for Max Sun Exposure
Proper placement of your solar fixtures ensures optimal daytime charging and balanced nighttime illumination. For comprehensive placement strategies across your landscape, refer to the main guide.
Step 1: Identify Unshaded Locations with Direct Sunlight
To ensure your Solar Water Drop Lantern receives adequate power, choose an outdoor location that receives unshaded sunlight. The solar panel needs 8-10 hours of direct sunlight daily to deliver 10-12 hours of lighting deco throughout the night. Avoid placing the top of the lantern directly beneath dense eaves, solid awnings, or thick evergreen foliage.
Step 2: Utilize the Sturdy Hanging Hook or Surface Mounts
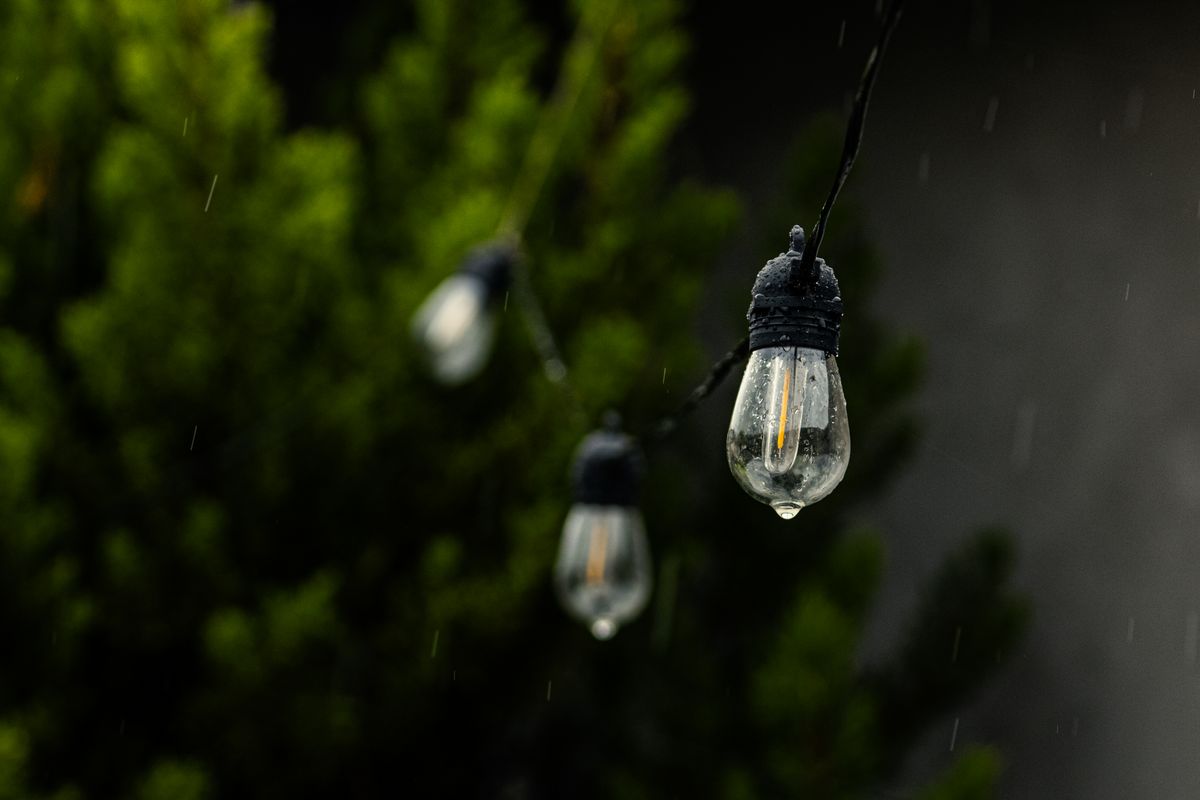
Photo by Ramsés Castillo on Pexels
Take advantage of the fixture's versatile design. At a 20.5 CM × 15.5CM Size, the lantern can be suspended from tree branches, porch overhangs, or shepherd hooks using its built-in sturdy hanging hook. Alternatively, place the metal base directly onto patio tables or flat wall ledges to create steady focal points.
Step 3: Optimize Spacing for Path and Patio Illumination
When lining pathways, space fixtures approximately 4 to 6 feet apart. This arrangement allows the lantern's Reflective Patterns to project overlapping, mesmerizing light displays across the ground without crowding the visual environment. The warm Flickering Candle Effect works best when given room to cast subtle, ambient shadows.
Step 4: Verify the Smart Auto On/Off Sensor Alignment
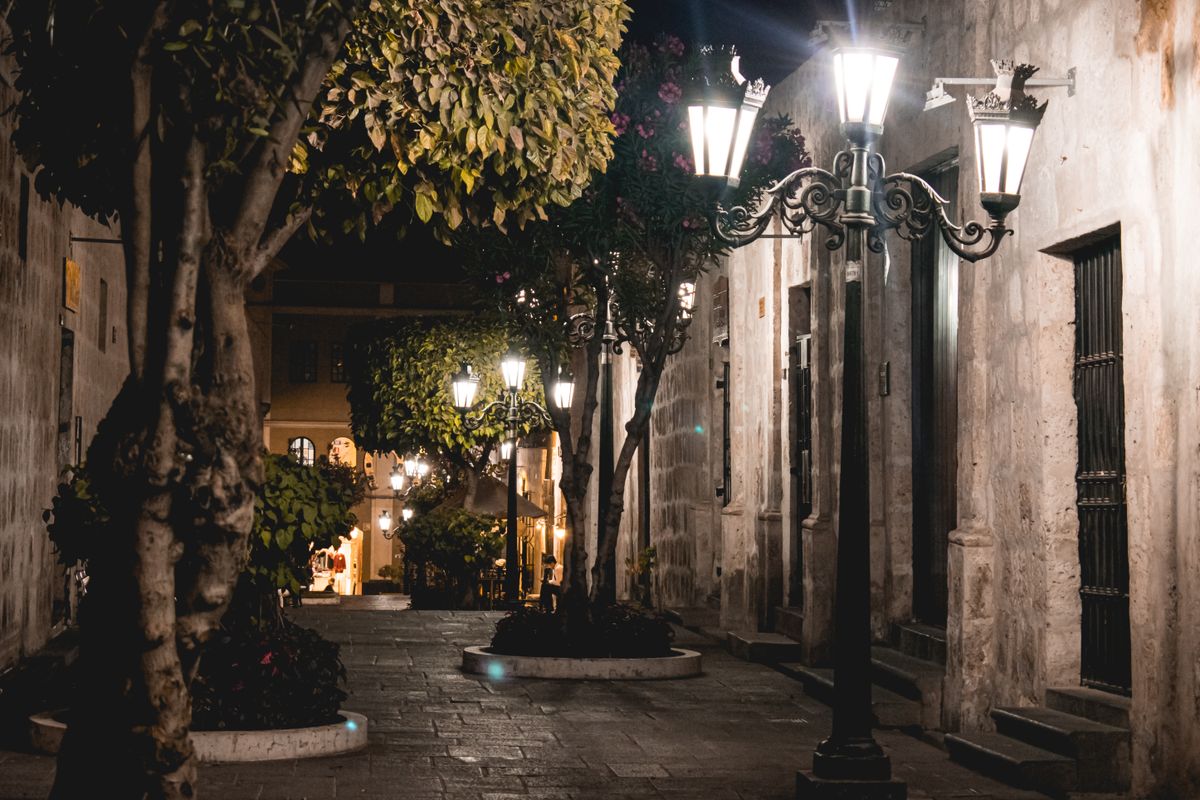
Photo by Jorge Luis Acasiete Conza on Pexels
Ensure the lantern's integrated photodiode sensor is positioned away from bright artificial light sources, such as floodlights or streetlamps. The Smart Auto On/Off Sensor requires true darkness at nightfall to automatically trigger activation and turn off reliably at sunrise.
Read the full guide: Eco Friendly Outdoor Lighting Ideas: Sustainable Guide