
Restoring & Caring for Weathered Outdoor Metal Lanterns: Maintenance & Troubleshooting
Follow the 30-minute bi-annual maintenance rule: spend 15 minutes in spring and 15 minutes in autumn inspecting and caring for your decorative lantern. Gently rub away surface rust with 0000 ultra-fine steel wool lubricated with mineral oil, polish oxidized solar resin caps using mild toothpaste, and coat metallic pattern filigree with clear UV-resistant marine polyurethane enamel while carefully masking the silicon IP65 seal.
Essential Maintenance Takeaways
- Protect Electronic Protection Zones: Never spray clear-coat sealants or harsh rust removers on top-mounted solar resin caps or silicone IP65 seals.
- Restore Optical Clarity in 5 Minutes: Cloudy, milky resin caps block up to 80% of sunlight; a gentle buffing with mild abrasive optical cleaner or white toothpaste restores full 8–10 hour charging efficiency.
- Prevent Galvanic Rust Transfer: Metal-on-metal contact at hanging points accelerates oxidation; coat shepherd's hooks with clear silicone grease or rubber paint.
- Observe 32°F Winterization Thresholds: Continuous freezing temperatures expand trapped water inside metal filigree seams and stiffen rubber gaskets; winter indoor storage doubles fixture lifespan.
Step-by-Step Metal Solar Lantern Restoration Checklist
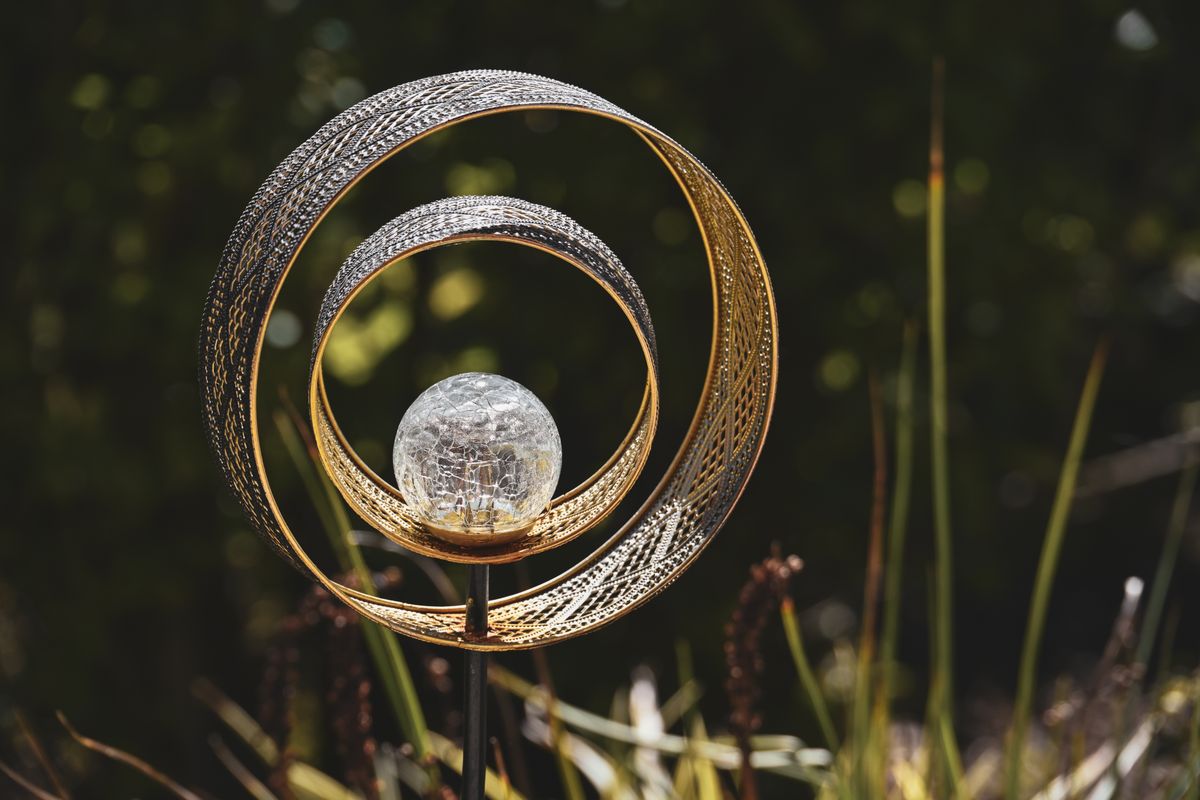
Photo by Alexas Fotos on Pexels
- Disconnect battery compartment and mask solar top resin panel with painter's tape.
- Gently scrub surface rust patches using 0000 ultra-fine steel wool lubricated with mineral oil.
- Wipe down metallic pattern body with isopropyl alcohol to remove oil and dust residues.
- Apply 2 light coats of clear UV-resistant marine polyurethane enamel spray, allowing 20 minutes dry time between coats.
Printable Lantern Care Cheat Sheet
- Bi-Annual Rule: 15 minutes in March (Spring Awakening) and 15 minutes in October (Winterization).
- Abrasive Rule: Use ONLY 0000 ultra-fine steel wool; coarse steel wire scratches decorative powder coating.
- Cleaning Rule: Clean solar resin top with optical cloth and mild toothpaste—never acetone or paint thinners.
- Protection Rule: Always mask the IP65 rubber gasket seal with painter's tape before applying anti-rust aerosol sprays.
- Temperature Rule: Bring metal fixtures indoors when night temperatures drop below 32°F (0°C) continuously.
Master Craftsman Tip: Masking Delicate IP65 Seals
When renewing the metallic body of your lantern with protective clear spray, the single most critical mistake is over-spraying the perimeter silicone gasket. Aerosol propellants and solvents present in clear marine enamel cause rubber gaskets to degrade, dry out, and crack over 6 to 12 months.
To preserve your fixture's IP65 dust and water ingress protection, tear strips of high-tack blue painter's tape into 5 mm slivers. Press them firmly along the exact boundary between the top solar cap housing and the decorative metal frame. This 2-minute masking step guarantees that your lantern maintains its flawless seal against torrential rain, heavy snow, and morning dew while receiving a fresh protective armor against rust.
Seasonal Outdoor Care & Weatherproofing Schedule
- Spring Awakening (March) — Unpack lanterns from winter storage. Wipe away dust from laser-cut patterns using a damp microfiber cloth. Clean solar resin tops with mild toothpaste to clear oxidation. Test 10–12 hour nightly illumination runtime.
- Mid-Summer Refresh (July) — Inspect solar collectors for pollen or bird dropping build-up. Trim overhanging garden foliage that blocks 8–10 hours of direct sunlight exposure. Wipe hanging hooks with a light film of clear silicone grease.
- Autumn Fortification (October) — Inspect metal filigree for microscopic rust spots. Perform the 4-step restoration sequence: scrub with 0000 steel wool, clean with isopropyl alcohol, and apply 2 light coats of clear UV-resistant marine polyurethane.
- Winter Sanctuary (December) — If living in climate zones with prolonged sub-freezing temperatures (below 32°F / 0°C), turn power switch OFF, remove rechargeable batteries, and store metal lanterns indoors in a dry room.
Lantern Troubleshooting Matrix: Symptoms, Causes & Fixes
| Symptom | Probable Cause | Non-Destructive Restoration Fix | Prevention Protocol |
| --- | --- | --- | --- |
| Dim or flickering glow (less than 4 hours runtime) | Cloudy solar resin panel or oxidized battery contacts | Buff solar top panel with mild toothpaste and microfiber cloth for 3 minutes; scrub battery springs with vinegar-dipped cotton swab. | Wipe panel quarterly; ensure 8–10 hours of unshaded sunlight exposure daily. |
| Milky white film over top solar resin collector | UV degradation and environmental oxidation of resin surface | Apply a nickel-sized dab of optical polishing compound or white baking-soda toothpaste; rub in soft 5 cm circular motions, then rinse clean. | Apply clear UV-resistant resin wax once per year after spring cleaning. |
| Orange rust specks appearing on decorative metal pattern | Atmospheric moisture penetrating microscopic pinholes in finish | Dampen 0000 steel wool with mineral oil; gently buff spot until bare metallic coat is clean. Wipe with alcohol and spot-treat with clear enamel. | Apply bi-annual clear marine polyurethane spray coat. |
| Rust streaks running down shepherd's hook or table mount | Galvanic corrosion transfer between hook joint and lantern loop | Scrub joint with wire brush; apply clear silicone grease or rubber coating spray to contact surface of shepherd's hook. | Isolate metal contact points with clear silicone bumpers or shrink tubing. |
| Lantern fails to ignite at twilight | Dirty light sensor lens or internal switch moisture ingress | Cover solar cap with hand to test switch. If non-responsive, open battery hatch, dry compartment with hair dryer on low for 2 minutes, replace NiMH cell. | Ensure IP65 rubber gasket is seated perfectly inside panel rim. |
Diagnose common post-weathering problems and restore your solar lantern's magical dusk-to-dawn performance without destroying delicate electronics.
Rust Level & Restoration Action Matrix
| Rust Stage | Visual Indicators | Restoration Technique | Sealant Recommendation |
| --- | --- | --- | --- |
| Stage 1: Atmospheric Tarnish | Dull metallic finish, minor brown specks in cutouts, surface feels rough. | Wipe with microfiber cloth dipped in 50/50 white vinegar and warm water. Buff gently with dry cloth. | Microcrystalline carnauba wax or paste wax applied with soft cloth. |
| Stage 2: Active Surface Rust | Flaking orange powder, localized rust patches under 15 mm diameter. | Scrub with 0000 ultra-fine steel wool lubricated with mineral oil. Wipe clean with isopropyl alcohol. | 2 light coats of clear UV-resistant marine polyurethane spray. |
| Stage 3: Deep Structural Corrosion | Metal pitting, crumbling filigree edges, iron perforation over 2 mm depth. | Gently wire-brush loose rust flakes; apply chemical rust converter with fine brush (keep 2 cm away from top panel). | High-durability rust-inhibiting exterior enamel paint followed by clear coat. |
Identify the severity of metal oxidation on your fixture to choose the safest, most effective restoration protocol.
Recommended Care Supplies & Replacement Gear
When restoration is no longer practical due to extreme structural corrosion, upgrade to a double-coated, weather-resistant lantern engineered for year-round outdoor elegance.
Restore vs. Replace Decision Framework
Deciding whether to restore weathered metal lanterns or replace them depends on rust depth, metal structural strength, and IP65 electronic seal integrity.
Best choice for
- Home Restoration with 0000 Steel Wool & Marine Clear Coat — Cost-effective, takes under 45 minutes, preserves the romantic teardrop filigree, and restores 100% optical solar performance.
- Reinforce Hook & Treat Metal Body — Saves the high-efficiency solar panel engine while isolating the metal loop with rubber grommets or clear silicone sealant.
- Water has breached the electronic battery housing, resulting in heavy white salt corrosion across circuit boards.
- The top solar resin panel has deep structural cracks that allow rain to pool directly onto the internal LED driver.
- Full Upgrade to Solar Water Drop Lantern — If structural filigree is crumbling, replacing the unit guarantees modern IP65 weatherproofing, energy-efficient solar charging, and mesmerizing light pattern projection.
Material Resistance & Care Specification Matrix
Photo by JINU JOSEPH on Pexels
| Component | Material & Spec | Environmental Hazard | Care & Protection Limit |
| --- | --- | --- | --- |
| Solar Top Panel Cap | High-Clarity Optical Photovoltaic Resin | UV Yellowing, Scratching, Pollen Build-up | Clean ONLY with soft microfiber and non-solvent toothpaste. Avoid acetone. |
| Weather Seal | IP65 Silicone Rubber Ring Gasket | Aerosol Solvents, Freeze Expansion | Must be fully masked with painter's tape during spray application. |
| Lantern Body | Stamped Steel Filigree (20.5 × 15.5 CM) | Acid Rain, Moisture Retention, Salt Fog | Treat bi-annually with UV-resistant marine polyurethane enamel spray. |
| Power & Runtime | 1.2V NiMH Cell (8–10h Charge / 10–12h Run) | Deep Freeze Drainage, Battery Oxidation | Store indoors if continuous temperatures drop below 32°F (0°C). |
| Hanging Assembly | Reinforced Heavy-Duty Metal Hook | Galvanic Friction Rust with Mounts | Coat connection points with clear silicone grease or rubber paint. |
Technical specifications governing outdoor durability and care limits for premium metal solar lanterns.
5 Critical Maintenance Errors That Ruin Solar Lanterns
Avoid these frequent maintenance missteps that inadvertently shorten the lifespan of outdoor solar fixtures:
Restoration Process Timeline (60-Minute Sequence)
- 00:00 - 00:10 — Inspect lantern body, turn switch OFF, remove rechargeable battery cell, and mask top resin panel and silicone IP65 ring with blue painter's tape.
- 00:10 - 00:25 — Gently scrub surface rust using 0000 ultra-fine steel wool lubricated with mineral oil. Wipe metallic filigree clean using isopropyl alcohol on a lint-free cloth.
- 00:25 - 00:45 — Buff cloudy solar top panel with a small dab of white toothpaste and a microfiber cloth for 3 minutes; wipe clean with a damp rag. Apply Coat 1 of clear marine polyurethane spray.
- 00:45 - 00:60 — Allow 20 minutes dry time, then apply light Coat 2. Once dry to touch, unmask solar panel, reinstall battery cell, and switch ON for evening deployment.
Frequently Asked Questions About Metal Solar Lantern Care
Expert answers to common maintenance, clear-coat protection, and winter storage questions.
Further Exploring All-Weather Garden Craftsmanship
Expand your knowledge of outdoor lighting care, weatherproofing standards, and romantic ambiance creation with these companion topics:
- How to Protect Outdoor Metal Solar Lanterns from Rust: Preserving Their Magical Glow
- What Does IP65 Really Mean for Solar Lanterns? Demystifying Rain, Snow, and Moisture Protection
- Winter Solar Lantern Maintenance Guide: Safeguard Outdoor Ambiance in Freezing Climates
- Troubleshooting Solar Lantern Performance: How to Optimize Energy in Shaded or Winter Gardens
Immediate Actions for Damaged Lanterns
Your decision: Determine whether your metal lantern requires basic surface polishing or a deep rust-inhibitor coat based on our 3-stage rust matrix.
Do this next: Inspect the solar panel resin top and metal base using our 4-point checklist before applying non-abrasive rust treatment.
- Read next: How to Protect Outdoor Metal Solar Lanterns from Rust: Preserving Their Magical Glow
Solar Water Drop Lantern (Pack Size) for replacing unsalvageable, severely corroded units.
Follow these quick recommendations to preserve your outdoor lighting investment or select resilient replacements.
Cover photo by Alexas Fotos on Pexels.