
How to Create an Enchanting Patio Dining Centerpiece with Solar Lanterns
Apply the 3-to-1 Table Spacing Rule: position one 20.5 cm solar teardrop lantern for every 3 feet of tabletop length. Space lanterns 18 to 24 inches apart along the central axis, elevating them 2 to 4 inches on risers to cast an ideal 36-inch shadow pattern without blocking sightlines.
Essential Rules for Patio Table Solar Centerpieces
- 3-to-1 Spacing Ratio: Place 1 lantern per 3 feet of table length (e.g., 2 lanterns for a 6-foot table, 3 for an 8-foot table).
- 18–24 Inch Spacing Interval: Maintain 18 to 24 inches between teardrop centers to overlap filigree shadow pools seamlessly without cluttering tableware.
- 2–4 Inch Elevation Lift: Elevate lanterns on wooden or stone pedestal blocks to expand the pattern throw to a 36-inch diameter while clearing dinner plate rims.
- 8–10 Hour Solar Charge Cycle: Ensure 8 to 10 hours of unshaded sunlight during the day to yield 10 to 12 hours of evening flickering light decor.
- 14-Inch Eye Level Clearance: Keep lantern peak height under 14 inches from tabletop surface to preserve open line-of-sight across seated dinner guests.
Dimensions & Light Casting Specification Matrix
| Attribute | Technical Specification | Tabletop Design Impact |
| --- | --- | --- |
| Dimensions | 20.5 cm Height × 15.5 cm Width | Compact footprint leaves 8+ inches of dinnerware clearance on standard 36-inch wide tables. |
| Pattern Throw Radius | 24 to 36 inches (at 2-inch elevation) | Covers central dining axis in warm, intricate filigree light without blinding diners. |
| Charge to Run Time | 8–10 hrs sunlight = 10–12 hrs illumination | Provides dusk-to-dawn ambiance for long, multi-course dinner parties. |
| Weather Resistance | IP65 Waterproof & Dustproof | Withstands unexpected rain showers, humidity, and wine spills without electrical shorting. |
| Light Temperature & Effect | Warm Amber Flicker (~2200K) | Replicates genuine candlelight warmth without wind blowout or hazardous open flame. |
Layout Diagrams: Table Shape Spacing Models
Pre-Dinner Party Solar Charging & Table Setup Checklist
- Position lanterns in direct sunlight (unshaded) by 9:00 AM to secure 8–10 hours of charging energy.
- Wipe solar panels clean with a micro-fiber cloth to remove pollen or dust residue before solar exposure.
- Verify auto-sensor activation by covering the top solar panel with your hand to test the flickering LED glow.
- Set up table linens, flatware, and stemware before setting down centerpiece lanterns.
- Place lanterns on 2 to 3 inch decorative risers to elevate pattern spread above dinner plate edges.
- Space lanterns at exact 18-to-24 inch intervals along the central line of rectangular tables.
- Ensure lantern placement maintains an unobstructed line of sight across the table for guests sitting opposite each other.
Expert Stylist Tip: Managing Shadow Patterns and Glassware Interference
When positioning teardrop solar lanterns directly on flat wooden or fabric surfaces, the filigree shadow patterns tend to collapse into a tight 12-inch radius around the base, often getting clipped by dinner plates and stemware. Elevating each lantern 2 to 4 inches using teak blocks, slate tiles, or low woven risers expands the light pattern throw by up to 300% (reaching a 36-inch diameter) while keeping the top hook below the critical 14-inch eye-level sightline between seated dinner guests.
Choosing the Right Layout Strategy for Your Table Setup
Select your tabletop layout configuration based on table geometry, guest capacity, and surface width.
Best choice for
- Linear Runner Layout (2–3 Lanterns) — Provides even illumination along the entire central spine while leaving 10+ inches on either side for family-style platters.
- Dynamic Trio Cluster (1 Central + 2 Low Accents) — Creates a focal point in the middle of the table that radiates shadow patterns outward evenly in 360 degrees.
- Single Elevated Focal Accent (1 Lantern) — Maximizes precious tabletop real estate while throwing sufficient ambient flickering glow across all four dining quadrants.
- Avoid multi-lantern linear setups on tables under 30 inches wide, as pattern throw will spill heavily off edges and crowd glassware.
- Avoid placing lanterns directly under wide patio umbrellas during daytime charging hours, as canopy shade reduces battery charge by up to 80%.
- Overhead Canopy Suspension — Hang lanterns from pergola beams or umbrella ribs 24 inches above the table if surface area must be 100% dedicated to food platters.
Featured Centerpiece Lantern: Teardrop Solar Water Drop
Creating an inviting outdoor dining experience requires balancing three key elements: light output, shadow pattern radius, and physical spatial boundaries. While traditional wax candles flicker poetically, a 5-mile-per-hour breeze can extinguish them instantly, leaving dinner guests in darkness. Solar teardrop lanterns overcome this limitation by housing an IP65-sealed, amber flickering LED within a patterned metallic housing measuring 20.5 cm in height and 15.5 cm in width. The internal reflective housing refracts light outward at a 45-degree angle, casting intricate filigree silhouettes across tablecloths, teak wood, or stone surfaces.
To achieve optimal visual harmony without cluttering dinnerware, apply spatial geometry principles to your placement. A single teardrop lantern resting flat on a surface casts a shadow pattern with a 12-inch radius (24-inch total diameter). By elevating the lantern 2 to 4 inches on a decorative wood or stone riser, the refractive angle widens, extending the shadow pattern footprint to a 18-inch radius (36-inch total diameter). This 36-inch circle of light creates an ethereal backdrop that frames dinner plates without casting harsh glare into guests' eyes.
Daytime solar logistics play an equally critical role in evening centerpiece execution. The lantern’s top-mounted monocrystalline solar collector panel requires 8 to 10 hours of unshaded direct sunlight to fully charge its internal battery. Because patio tables are often shielded by umbrellas, pergolas, or wide tree canopies during the afternoon, placing lanterns directly on the dining table at breakfast can result in incomplete charging. The most effective protocol is establishing a 'daytime solar station' in an unshaded section of the lawn or patio from 9:00 AM to 5:00 PM, moving the fully charged units onto the dining table just before dusk when the built-in twilight sensor automatically triggers the flickering glow.
Layout Scenarios: Table Topologies & Recommended Spacing
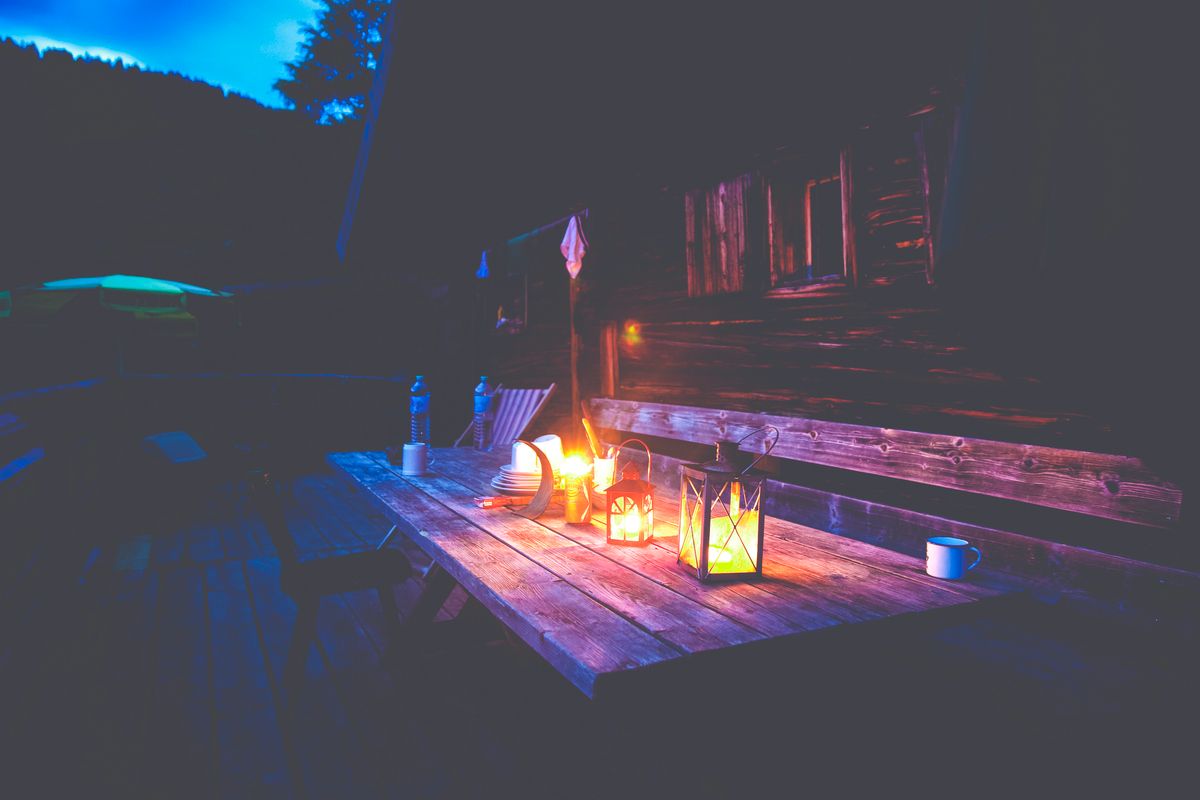
Photo by Markus Spiske on Pexels
| Table Scenario & Dimensions | Recommended Lantern Count | Spacing & Elevation | Pattern Shadow Footprint | Tableware Clearance |
| --- | --- | --- | --- | --- |
| 6-Foot Rectangular Table (6 Guests) | 2 Teardrop Lanterns | Spaced 24 in apart; elevated 3 in on wooden blocks | Dual overlapping 30-in light circles along central axis | 10 in clearance to plate edges; ideal for wine glasses |
| 8-Foot Rectangular Table (8 Guests) | 3 Teardrop Lanterns | Spaced 20 in apart; elevated 3 in on wooden blocks | Continuous 84-in filigree light runner down table center | 12 in clearance to plate edges; accommodates serving trays |
| 48-Inch Round Table (4 Guests) | 1 Central Teardrop Lantern | Centered; elevated 2 in on ceramic or slate riser | 360-degree 36-in light halo surrounding center | 8 in clearance from central lantern to place settings |
| 48-Inch Square Table (4 Guests) | 1 Central + 2 Micro Votives | Centered primary teardrop lantern elevated 4 in | Focal center burst with subtle corner illumination | 9 in clearance on all four quadrants for dining plates |
5 Tabletop Styling Mistakes That Muffle Your Solar Glow
Explore More Patio & Landscape Lighting Guides
Enhance your knowledge of outdoor ambiance design with these non-linked guide topics:
- Single Accents vs. Multi-Lantern Clusters: Framing Your Patio Sanctuary with Light
- Candlelight vs. Flickering Solar Lanterns for Outdoor Dining Tables
- Pergola vs. Shepherd Hook: Choosing the Best Elevation for Hanging Solar Lanterns
Frequently Asked Questions About Solar Lantern Centerpieces
How do I clean food or grease spills off my solar lantern metal casing after an outdoor dinner party?
Wipe the metal casing and IP65 sealed solar panel with a soft microfiber cloth dampened in a mild soapy water solution. Never use abrasive scrubbing pads or harsh chemical solvents, which can scratch the reflective glass lens or strip the protective solar cell coating.
Can I leave solar lanterns outdoors on the patio table during heavy rain?
Yes, the IP65 waterproof rating protects the lantern fully against heavy rainfall, blowing dust, and snow. While the internal electronics remain completely sealed during year-round outdoor exposure, storing lanterns indoors during severe winter freezing or extreme hail will extend the lifespan of the antique metal finish.
How do I prevent patio umbrella shade from blocking solar lantern charging during the day?
Charge your lanterns in a high-sun zone of your garden or lawn between 9:00 AM and 5:00 PM where tree branches or umbrella canopies won't cast shadows. At dusk, simply use the built-in metal handle to carry the fully charged lanterns onto your dining table for 10 to 12 hours of evening illumination.
Putting Your Patio Centerpiece Layout into Action
Your decision: Determine your table dimensions and choose whether a linear runner or elevated single accent fits your dining space.
Do this next: Place your teardrop solar lanterns in unshaded sunlight for 8–10 hours prior to your event, then deploy according to the 3-to-1 spacing rule.
- Read next: Single Accents vs. Multi-Lantern Clusters: Framing Your Patio Sanctuary with Light
- Read next: Candlelight vs. Flickering Solar Lanterns for Outdoor Dining Tables
Select the Solar Water Drop Lantern 2-Pack or 4-Pack for complete centerpiece coverage.
Cover photo by DΛVΞ GΛRCIΛ on Pexels.