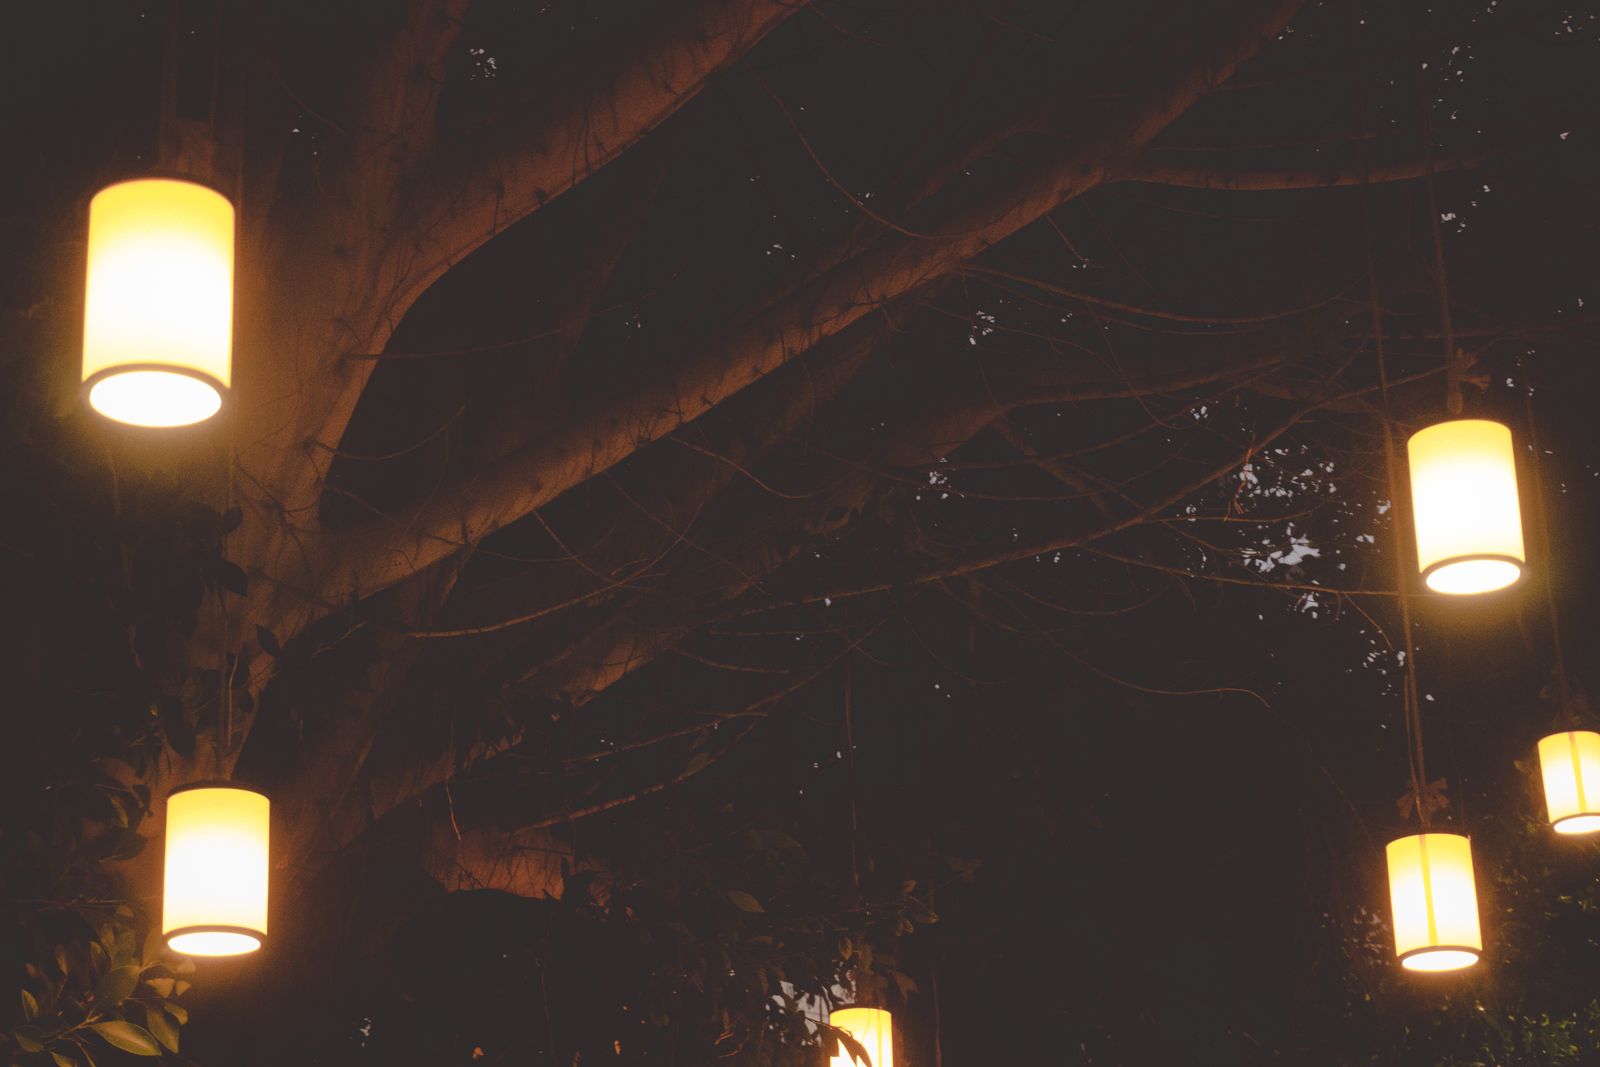
Fix Shaded Hanging Solar Lanterns Under Trees & Pergolas
Is your hanging solar lantern failing to glow under a dense tree canopy?
Extend its drop height using an S-hook or decorative chain to push the top-mounted solar panel past the foliage drip line, or shift the fixture to an outer, south-facing limb. Relocating the solar collector just 12 to 18 inches outward typically restores the 6 to 8 hours of direct daylight required for a mesmerizing, dusk-to-dawn flickering candle atmosphere.
Canopy Shade Diagnosis Flowchart
- Is the top solar panel completely clean of sap, pollen, and dust? → Yes: Proceed to daylight exposure test.. No: Clean panel with a soft, damp microfiber cloth and observe performance tonight..
- Does the lantern receive at least 6 hours of unshaded sunlight at its current branch position between 10 AM and 4 PM? → Yes: Proceed to night sensor test.. No: Lower lantern past canopy drip line using a 12-18 inch S-hook or relocate to an outer southern limb..
- Is an artificial light source (porch lamp, floodlight, streetlight) shining directly onto the top solar cell at dusk? → Yes: Reposition lantern away from artificial glare to prevent sensor blinding.. No: Perform a 48-hour clear-sky charge cycle switched OFF, then switch ON at dusk to reset battery capacity..
Failure Mode Diagnostics: Symptoms vs. Canopy Fixes
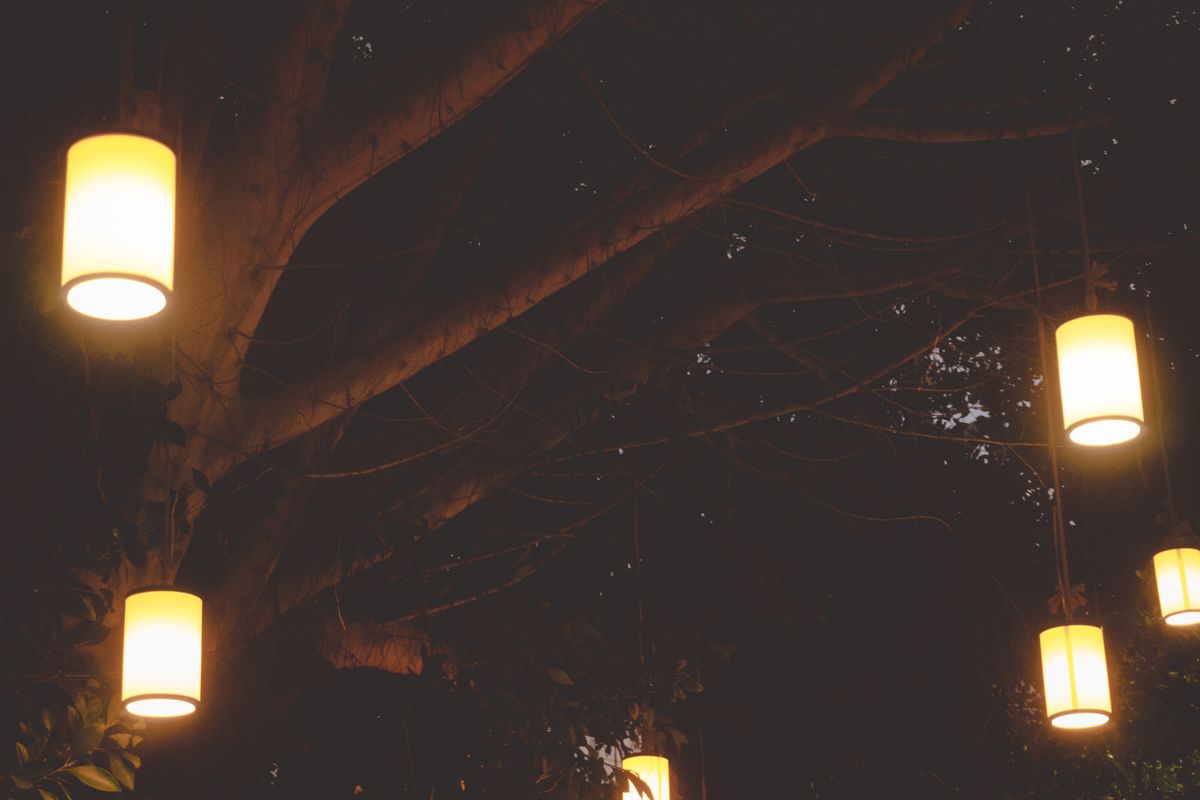
Photo by Mehmet Kaya on Pexels
| Symptom / Failure Mode | Probable Root Cause | Quick Field Fix | Permanent Landscape Adjustment |
| --- | --- | --- | --- |
| Lantern glows softly for 1–2 hours, then turns dark | Dappled canopy shade permitting only partial battery charge during peak solar hours | Wipe panel clean and attach a 12-inch S-hook to drop panel below inner branch cluster | Selectively window-prune non-structural twigs directly south of the solar panel |
| Lantern fails to illuminate at all, despite bright sunny day | Ambient floodlight or porch light shining on panel, blinding dusk sensor | Shield panel top with a dark card at night to verify auto-sensor function | Relocate lantern to a darker perimeter branch away from house lighting |
| Flickering glow is erratic, turning on and off throughout twilight | Swaying branches casting intermittent shadows or partial sensor activation | Move hook closer to a rigid, structural limb rather than flexible outer twigs | Install a rigid wrought-iron extension bracket or shepherd hook outside foliage perimeter |
| Gradual loss of nightly runtime over several weeks in late spring | Deciduous tree leaf emergence slowly choking off spring sunlight window | Shift lantern 18–24 inches outward along the limb toward the drip line | Re-evaluate seasonal sun angles and create a biannual repositioning routine |
When twilight falls and your enchanted garden remains shrouded in darkness, consult these failure modes to match visual symptoms with practical field solutions.
Expert Tip: The S-Hook Drip-Line Extension Technique
> Arboricultural Lighting Insight: Tree foliage is densest within the inner two-thirds of the branch radius. The outer perimeter—known as the drip line—allows significantly more vertical solar penetration. Instead of taking shear pruners to a majestic oak or maple, simply attach a weather-resistant 12-to-18-inch metal S-hook or dark iron jack chain. Lowering the lantern's crown just below the dense foliage ceiling allows the top-mounted solar collector to drink in ambient and direct southern rays while keeping the teardrop body suspended gracefully within the leafy silhouetted frame.
Diagram Specification: The Drip Line Solution & Sun Path Alignment
This spatial diagram illustrates how lowering a teardrop solar lantern away from the dense inner branch heartwood opens up direct solar angles without sacrificing overhead aesthetic beauty.
Canopy Exposure & Hardware Safety Checklist
- Wipe solar panel glass completely clean of tree sap, pollen, bird droppings, and organic dust using a damp microfiber cloth.
- Inspect the branch canopy overhead between 11 AM and 3 PM to confirm at least 6 hours of unshaded, direct solar exposure.
- Verify the lantern is extended outward or downward past the dense inner trunk shade into outer limb light windows.
- Check that night sensors are not tripped or blinded by nearby security floodlights, streetlamps, or patio sconces.
- Confirm S-hooks, hanging chains, and branch grips are rust-resistant and padded or wide enough to prevent wounding delicate tree bark.
Re-Anchoring Decision Tree: Branches vs. Shepherd Hooks vs. Extension Chains
- Can you lower the lantern 12–18 inches using an S-hook without bringing it uncomfortably close to pathway head clearance? → Yes: Use an S-Hook Drip-Line Extension directly on the existing tree branch.. No: Proceed to structural alternative check.
- Is the tree an evergreen pine/fir with year-round dense shade or a deciduous tree that thins in winter? → Yes: Relocate to a heavy-duty perimeter Shepherd Hook positioned 2–3 feet outside the drip line.. No: Perform selective branch windowing or shift lantern outward toward the southern tip of the branch.
Recommended Solution: High-Efficiency Solar Water Drop Lanterns
When lighting dappled garden retreats, choosing a lantern designed with high-conversion solar collectors and robust weatherproofing makes all the difference.
Why the Solar Water Drop Lantern Excels in Variable Canopy Shade
- Poetic Water Drop Silhouette: Elegant teardrop metal construction that casts enchanting filigree shadow patterns across pathways and lawn spaces.
- Flickering Candle Effect: Captures the cozy, romantic glow of real flame without fire hazards or messy wax.
- Smart Auto On/Off Sensor: Intelligently detects twilight, conserving energy through the day and automatically igniting at nightfall.
- Solar Powered Efficiency: Monocrystalline collector panel absorbs energy rapidly, turning 8–10 hours of sunlight into 10–12 hours of evening magic.
- IP65 Waterproof Rating: Fully sealed against driving rain, heavy snow, and dust, ensuring flawless year-round outdoor operation.
Immediate Action Plan for Shaded Outdoor Spaces
Your decision: Determine whether your tree branch can be safely window-pruned or if an S-hook drop extension is required to clear dense leaf clusters.
Do this next: Measure direct sunlight hours at your chosen branch between 10 AM and 4 PM; if total daylight exposure is under 6 hours, attach a 12-to-18-inch S-hook to drop the top solar collector below the leaf canopy.
- Read next: How to Hang Solar Lanterns in Trees for Ethereal Shadow Patterns
- Read next: Pergola vs. Shepherd Hook: Choosing the Best Elevation for Hanging Solar Lanterns
Solar Water Drop Lantern (Pack Size) for reliable IP65 waterproof illumination even in dappled sunlight environments.
Follow these practical steps to restore full dusk-to-dawn runtime to your suspended garden fixtures.
Key Takeaways: Keeping Suspended Solar Decor Glowing
Photo by suzukii xingfu on Pexels
- Drip Line Is King: The outer edge of a tree's canopy allows up to 70% more solar photon capture than the dark inner trunk area.
- Drop Heights Matter: Lowering a top-mounted solar collector 12 to 18 inches using S-hooks or jack chains often solves short runtime issues without pruning.
- Clean Panels Weekly: Microscopic coatings of sticky tree sap, honeydew, and pollen dramatically degrade photovoltaic conversion efficiency in wooded spaces.
- Beware Blinding Glare: Nearby porch sconces or floodlights can trick the dusk sensor into believing it is still daytime, keeping lanterns dark.
- Seasonal Shifts Require Adjustments: Late spring foliage emergence and autumn leaf drops change solar exposure windows—adjust branch anchor points biannually.
5 Steps to Re-Position and Optimize Shaded Hanging Lanterns
Follow this step-by-step restoration routine to revive dim or short-lived hanging solar fixtures.
Step 1: Conduct a Solar Exposure Audit
Stand beneath your tree branch at 10 AM, 1 PM, and 4 PM. Note whether direct sunlight strikes the top face of the solar cell or if it sits in deep trunk shadow. High-efficiency teardrop lanterns require 6 to 8 cumulative hours of unshaded sunlight to achieve a full 10 to 12 hour night run.Step 2: Clean Tree Sap and Organic Buildup
Wooded areas surround lanterns with sticky sap, pollen, and dust. Spray the top solar panel glass with clean water and wipe gently using a non-abrasive microfiber cloth. Never use harsh chemical solvents that could cloud the protective solar cell casing.Step 3: Install an S-Hook or Chain Drop Extension
If overhead foliage forms an impenetrable umbrella, attach a weather-resistant 12-to-18-inch S-hook or dark steel chain to the branch. Suspend the lantern from this lowered point so its top crown clears the dense leaf ceiling into open side-skies.Step 4: Perform Selective Window-Pruning (If Needed)
If lowering the lantern is impossible due to head clearance over garden pathways, use sharp hand pruners to snip 2 or 3 non-structural, thin twigs directly south and overhead of the branch. Opening a small 10-inch 'sun window' dramatically increases photovoltaic charging rates without impacting tree health.Step 5: Test Night Sensor Isolation
Wait until dark and observe the lantern. If it fails to ignite despite a full daytime charge, check for ambient artificial light spill from nearby house lamps or streetlights. Relocate the fixture 3 to 5 feet further into the dark garden perimeter where twilight triggers the auto-sensor naturally.Common Overhead Positioning Pitfalls
Avoid these frequent placement errors when curating illuminated tree canopies and covered outdoor living areas.
- Hanging Deep Near the Trunk: Mounting lanterns on thick structural limbs close to the main tree trunk puts them in a permanent shadow vault where solar rays rarely penetrate.
- Aggressive Branch Cutting: Hacking away heavy structural limbs damages tree architecture and aesthetics when a simple 12-inch extension hook would have moved the solar cell into direct sunlight.
- Ignoring Seasonal Leaf Emergence: Assuming a spot that worked in bare-branch March will provide equal power in fully leafed June. Re-evaluate exposure as canopies fill out.
- Blinding the Light Sensor: Suspending lanterns directly underneath bright ambient patio floodlights or porch sconces, which prevents dusk-to-dawn sensors from activating.
Frequently Asked Questions
Find clear answers to common questions about operating hanging solar decor in shaded or wooded garden environments.
Related Overhead & Garden Placement Guides
Explore additional guides to master outdoor solar positioning and atmospheric garden design:
How to Hang Solar Lanterns in Trees for Ethereal Shadow Patterns* Pergola vs. Shepherd Hook: Choosing the Best Elevation for Hanging Solar Lanterns* Tabletop Glow or Canopy Dreams? A Placement Guide for Patterned Solar Lanterns* Troubleshooting Solar Lantern Performance in Shaded or Winter Gardens*
Final Summary & Next Steps
Your decision: Select the best positioning fix for your shaded outdoor space today.
Do this next: Inspect your hanging lanterns at midday, wipe solar panels clean, and install an extension hook if shaded by dense leaf clusters.
Related resource: https://solarwaterdroplantern.com
Solar Water Drop Lantern (Pack Size) for reliable, romantic outdoor ambiance.
By understanding tree canopy dynamics and applying simple micro-positioning techniques—like dropping lanterns below the dense foliage line with S-hooks—you can maintain enchanting, dusk-to-dawn outdoor illumination all season long.
Cover photo by Mehmet Kaya on Pexels.