
How to Set Up Solar Water Drop Lanterns for Optimal Patio Mood Lighting
How to Set Up Solar Water Drop Lanterns for Optimal Patio Mood Lighting
Setting up solar accent lighting is a simple DIY project that instantly boosts your home's nighttime curb appeal. Follow this straightforward step-by-step process to maximize charge efficiency and visual output.
For more design layout ideas, visit the main guide.
Step 1: Unpack and Inspect Lantern Components
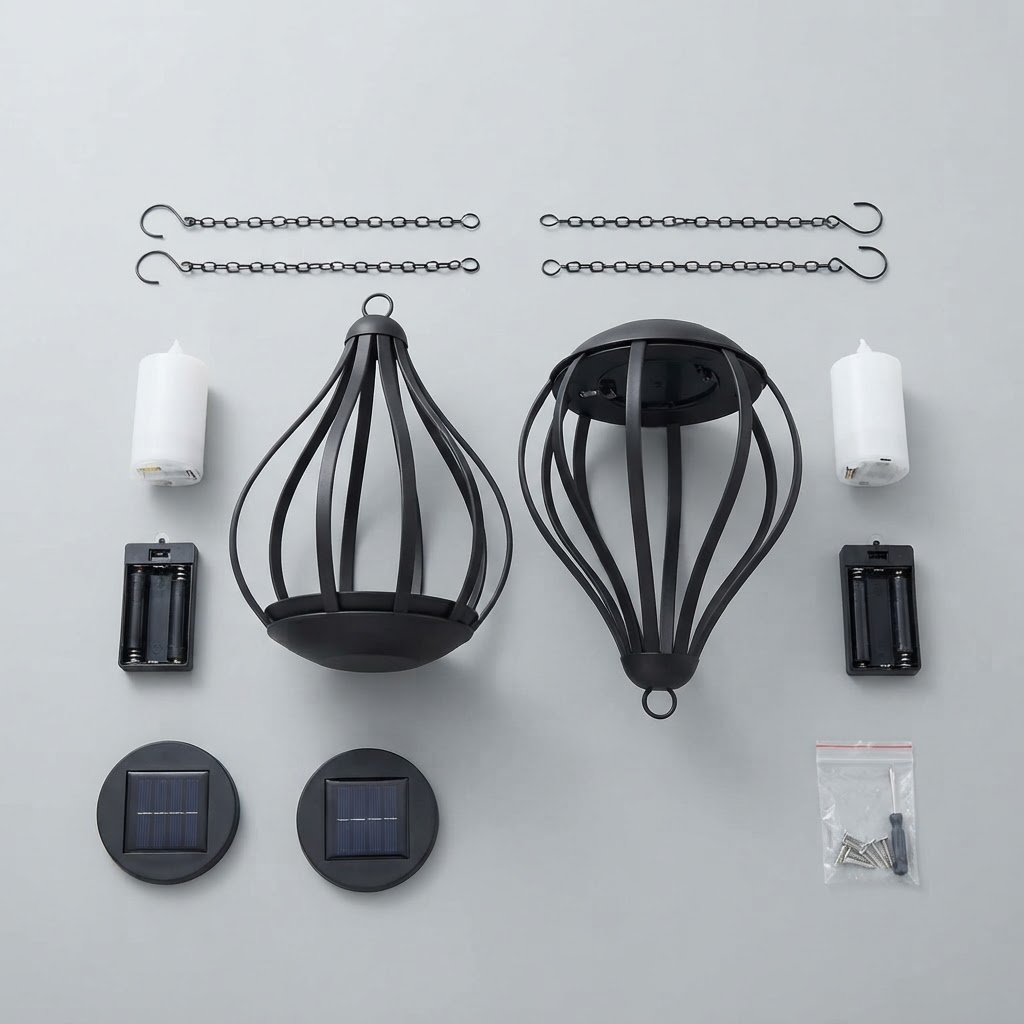
Unbox your lantern and examine the durable Metal Construction and glass panel elements. Confirm that the dimensions match the 20.5 CM × 15.5CM Size specification and ensure the hanging hook is attached securely.
Step 2: Select an Unshaded Outdoor Location
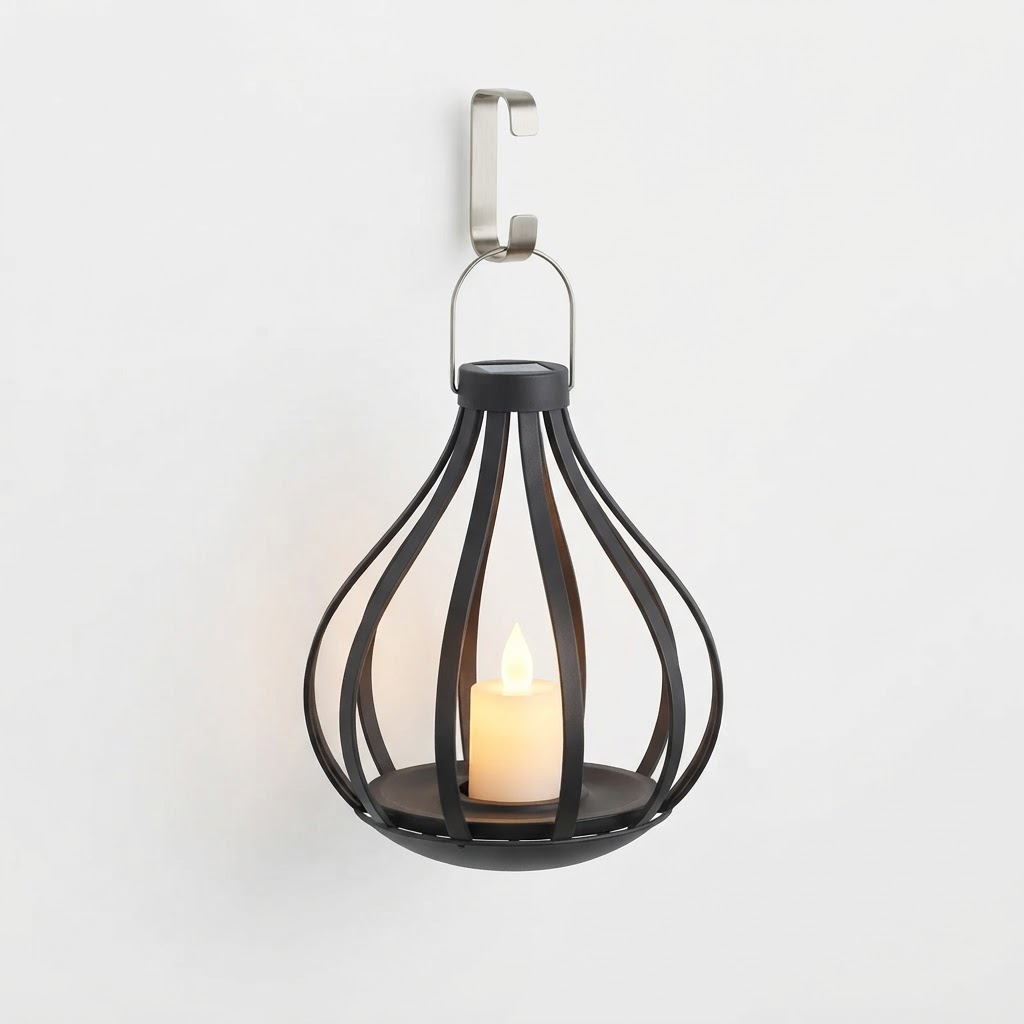
Choose a installation spot such as a patio table, pathway edge, or tree branch. To ensure the 0.2W solar panel receives full sunlight, avoid placing the fixture beneath heavy roof overhangs or dense tree shade.
Step 3: Optimize Solar Panel Angle and Sunlight Exposure
For ideal battery performance, ensure the solar cell is angled toward direct light:- Position the top panel at a Solar Panel Optimal Angle of 30 - 45 degrees relative to direct sun.
- Ensure ambient temperatures remain within the safe Charging Temperature Range of 0°C to 45°C (32°F to 113°F).
- Allow 8-10 hours of direct sunlight charging to fully charge the internal 600 mAh battery capacity.
Step 4: Verify Auto Sensor Operation at Dusk
Once night falls, the built-in Smart Auto On/Off Sensor automatically triggers the 10 lumens LED, emitting a Flickering Candle Effect through the cutouts. Enjoy up to 10-12 hours of continuous illumination overnight.Read the full guide: The Ultimate Guide to Outdoor Patio Mood Lighting Ideas